Installing Jasperserver pro with Oracle in Evaluation period is bit tricky, because bundle we download from server can only installer with Postgres SQL.
Below steps explain how to install platform independent Jasperserver pro in your system with Oracle repository.
- Download the Jaspersoft pro evaluation from here (Lets say we downloaded windows version)

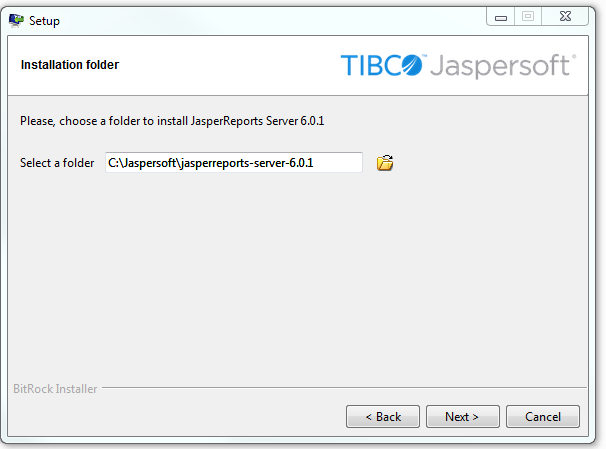
- Install jaspersoft pro in windows machine, by default it will install with Postgres SQL
- Once it’s installed with Postgres SQL, now it’s time to rebuild the war file and pointing it to oracle.
Note:- we tried to reconfigure just configuration files as in other website told but it doesn’t work 100%, you will get some error like invalid characters and some more errors. So please follow below steps for 100% success. - First lets tweak and fix the path before building ant.
- Copy the folder %JASEPER_HOME%\apache-tomcat\webapps\jasperserver-pro into %JASPER_HOME%\buildomatic\install_resources\war\jasperserver-pro (create the folder war if it doesn’t exists)
- Delete the folder %JASER_HOME%\buildomatic\build_conf
- Copy and rename the file inside %JASPER_HOME%\buildomatic\sample_conf\oracle_master.properties into %JASPER_HOME%\buildomatic\ and rename the file into default_master.properties
- edit the file default_master.properties file tomcat version, location of tomcat(different location than that is in %JASPER_HOME%), connection parameter of oracle, system username and password and jasperserver schema name and password you want to create like as in the attached file default_master.properties
- Once you followed everything as per above, its time to build the oracle database repository and war file for oracle.
-
Commands Description cd %JASPER_HOME\buildomatic Makes the buildomatic directory your current directory. js-ant create-js-db Creates the JasperReports Server repository database. js-ant create-sugarcrm-dbjs-ant create-foodmart-db (Optional) Creates the sample databases. js-ant load-sugarcrm-dbjs-ant load-foodmart-db (Optional) Loads sample data into the sample databases. js-ant init-js-db-projs-ant import-minimal-pro Initializes the jasperserver database, loads core application data. Running js-ant import-minimal-pro is mandatory. The server cannot function without this data. js-ant import-sample-data-pro (Optional) Loads the demos that use the sample data. js-ant deploy-webapp-pro Configures and deploys the WAR file to Tomcat, JBoss, or Glassfish. Reference: Jasperserver Site
Normally, minimal(excluding optional options) is enough and it makes Jasperserver clean from unnecessary objects being created. - Output: –
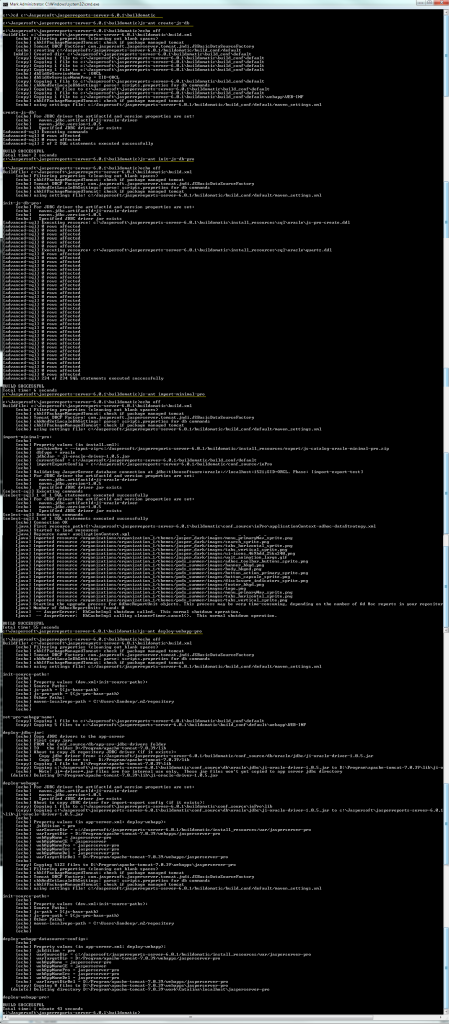
-
- After following all above steps without any error. its time to install the jasperserver license.
- Copy %JASPER_HOME%\jasperserver.license to home directory
Operating System Location Linux /home/<user>/ or ~/ Windows C:\Users\<user>\ Solaris /export/home/<user> or ~/ or if you want to put in user defined location then please follow the link
- Copy %JASPER_HOME%\jasperserver.license to home directory
- Now run the Tomcat (not the %JASPER_HOME%\tomcat) and everything should be fine

Migrating Jasperserver and oracle repository.
- Take a backup and restore oracle schema JASPERSERVER, FOODMART and SUGARCRM(if exists) into destination oracle server.
- Copy Jasperserver-pro webapps folder to Application server.
- edit the file located in jasperserver-pro webapps folder %TOMCAT%\webapps\jasperserver-pro\META-INF\context.xml file and configure Oracle url, schema name and password for jdbc/jasperserver, jdbc/sugarcrm, jdbc/foodmart
- Copy the file jasperserver.license and copy to user home directory as said in above
- Start the Tomcat and finished 🙂
If Evaluation period is expired
if evaluation period is expired then install the initially downloaded from jasperserver website with postgres sql in any test machine, which will generate the jasperserver.license and copy that file into existing jasperserver machine.
Reference:-
https://community.jaspersoft.com/documentation/jasperreports-server-source-build-guide/v561/additional-buildomatic-information
https://community.jaspersoft.com/questions/813885/how-configure-jasper-server-oracle-11g